
Security Testing With Containers
There are many ways we can test our applications for security vulnerabilities. This post will talk about testing a containerized application with a testing tools container. There are many benefits of using containers in your development and testing workflows. Some of the benefits of using these methods include:
- Being able to attach your specific suite of tools to a local container deployment
- Having a portable, reusable set of tools that can be run on any system supporting docker engine
- Get up and running quickly without a lot of setup or configuration
Requirements
Be sure you are able to run…
docker -v
and
docker-compose version
before starting the next section.
Setting up our practice application
For our test application we will reference a super secure application provided by OWASP itself. If you are not sure what OWASP is be sure to check out their website. We are going to test the node.js application NodeGoat.
To start clone their repository
git clone https://github.com/OWASP/NodeGoat.git
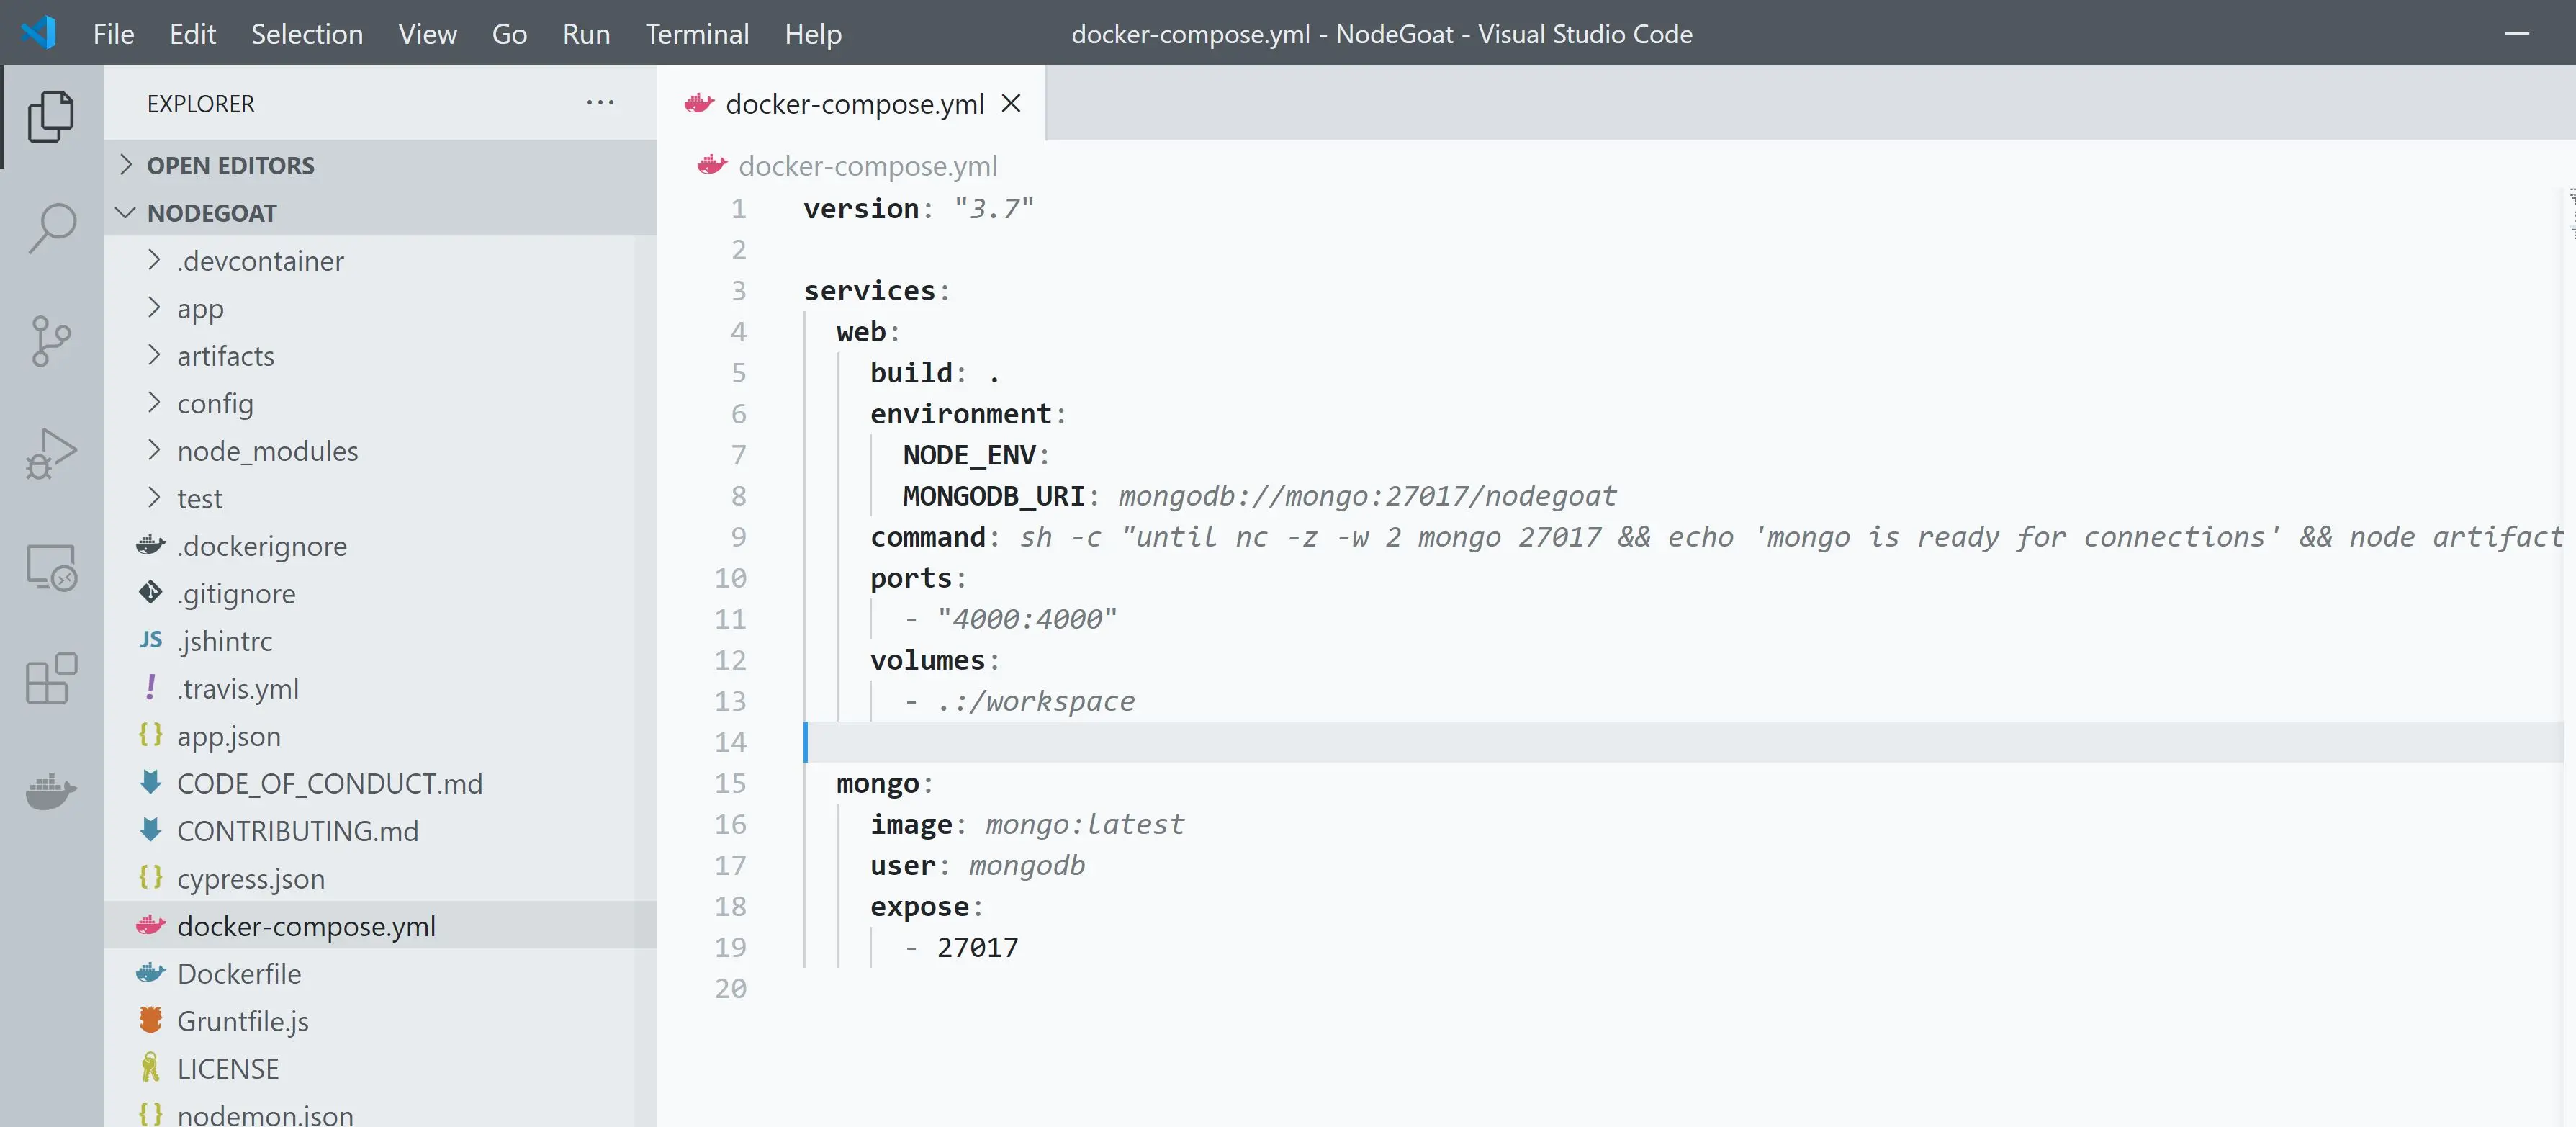
If we inspect the docker-compose.yml file we notice that this application deploys a web service and a MongoDB service. Take special note of the service name web and the ports exposed for the service 4000 in this case.
Lets start our application deployment! Navigate to directory with docker-compose.yml file and enter
docker-compose up
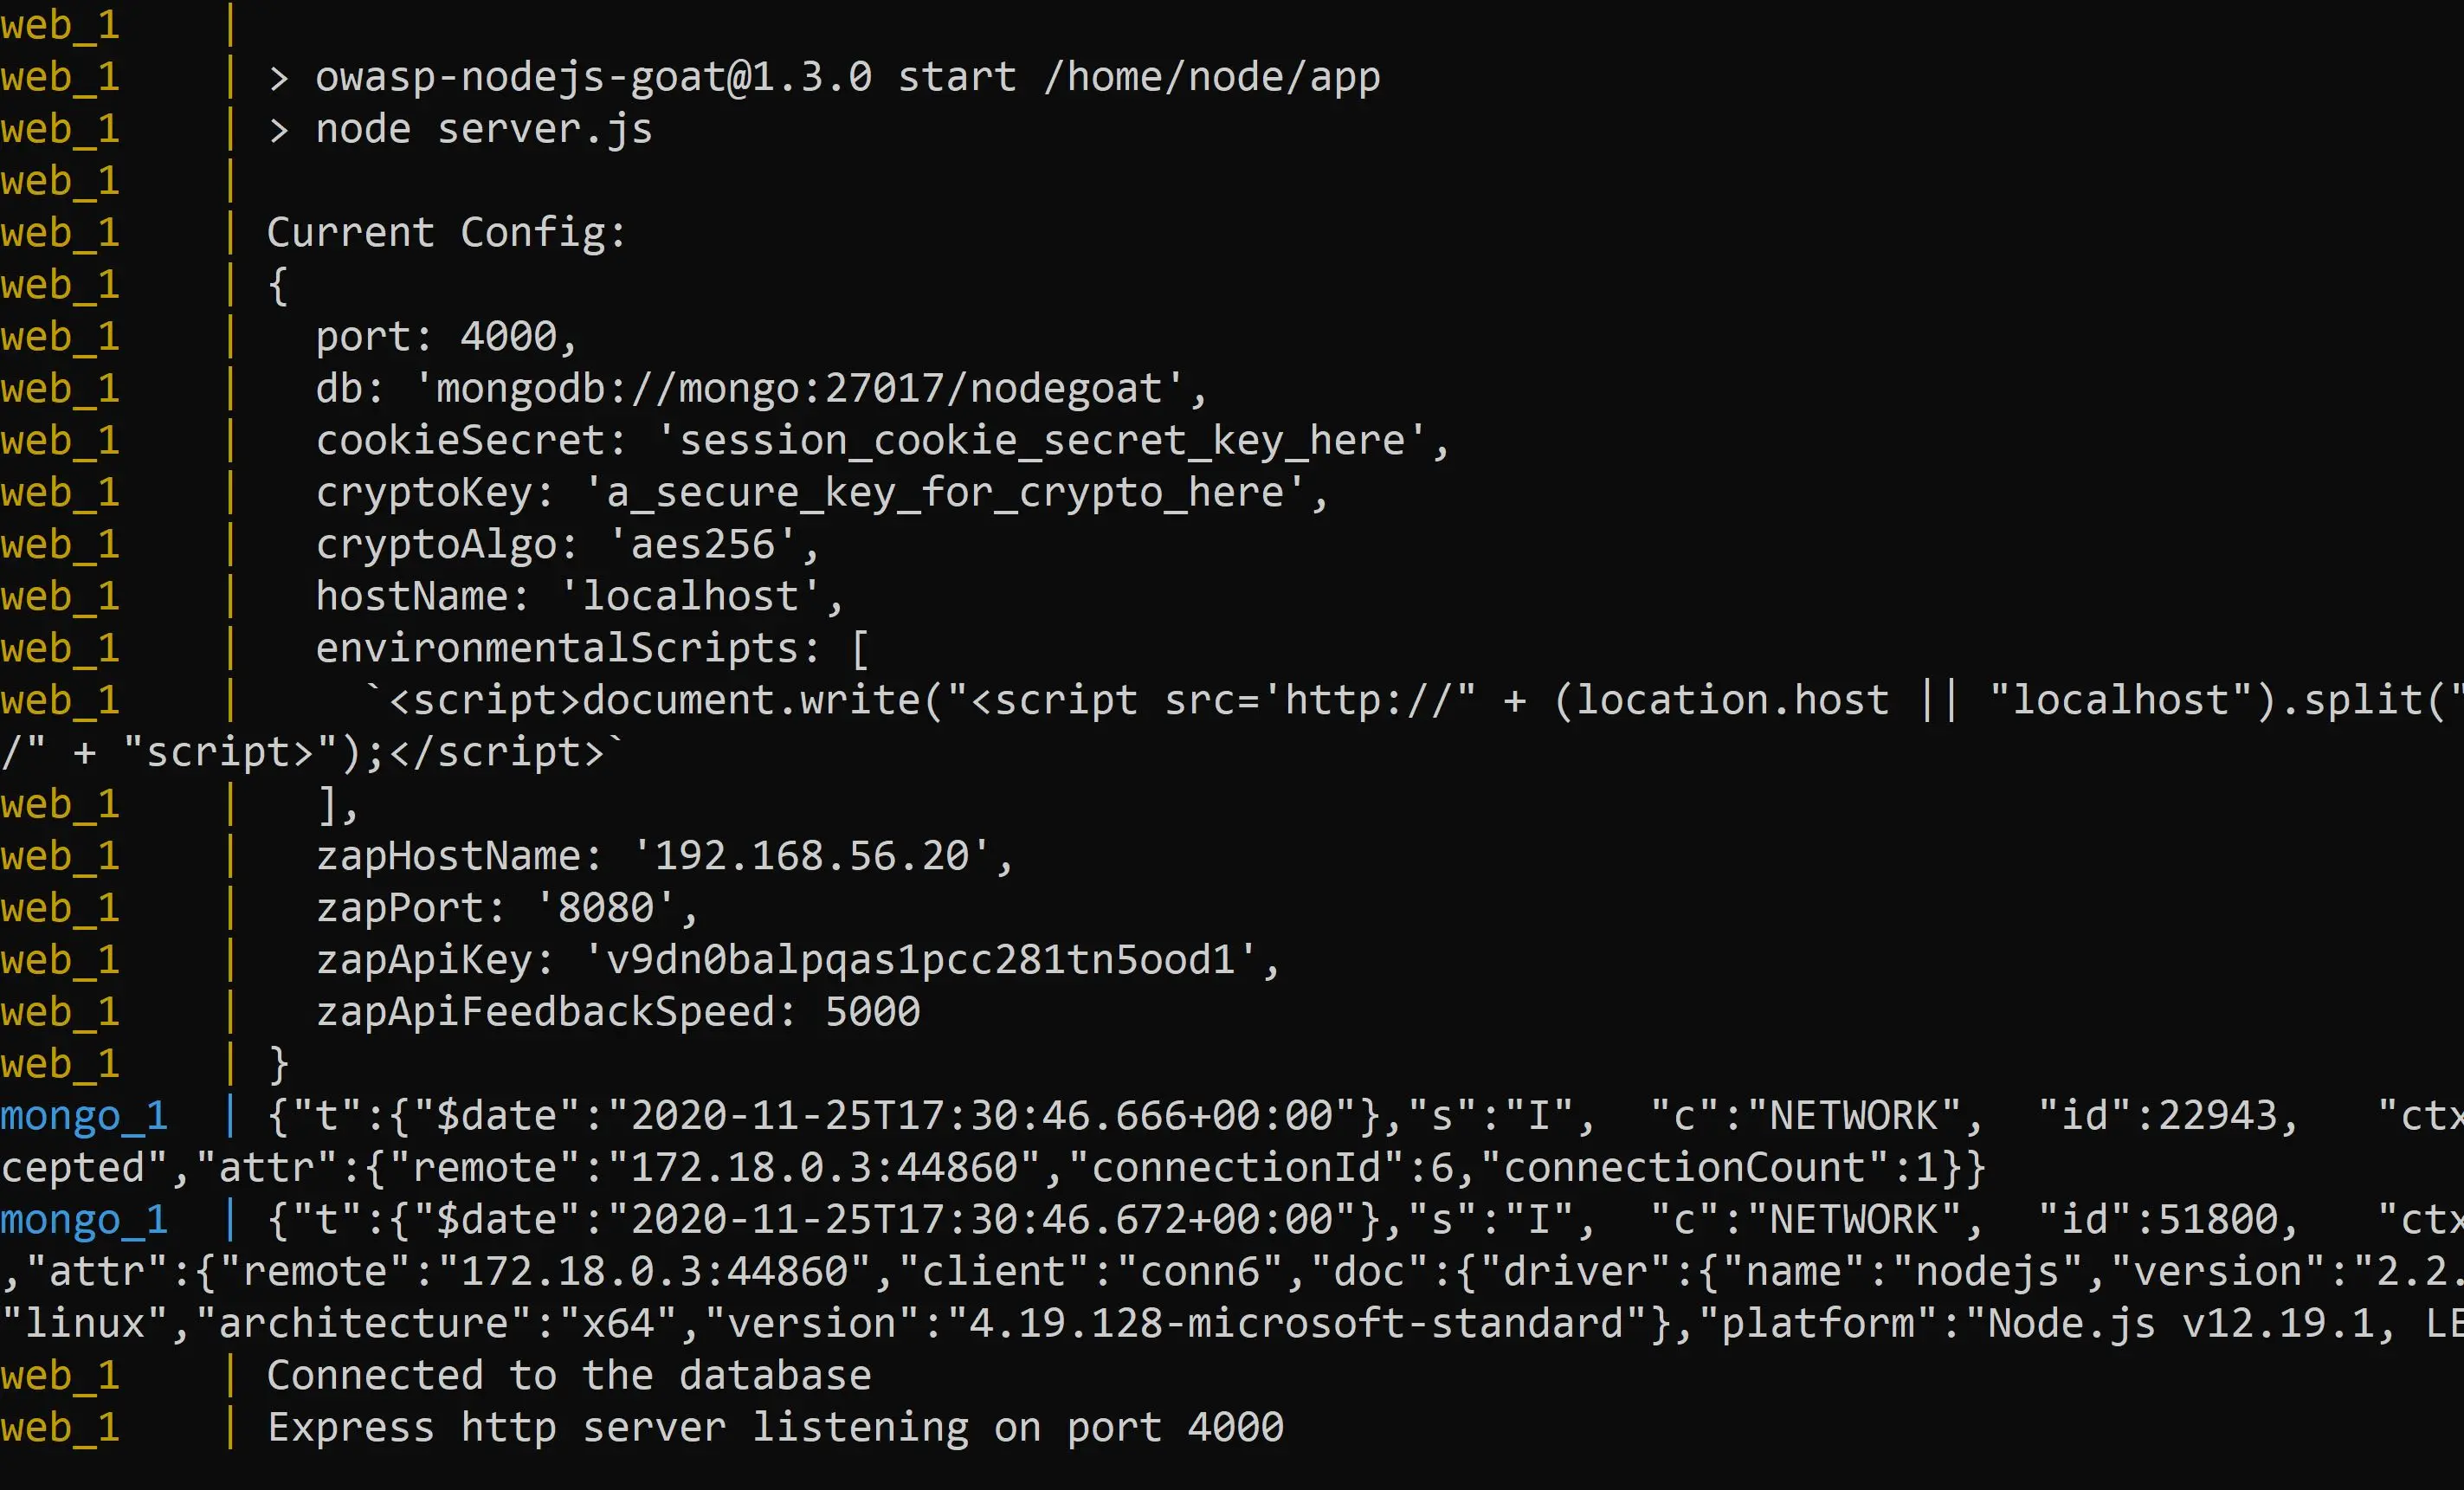
This command will spin up the MongoDB database and then the actual web application. Once this operation is complete you should see your terminal look something like this.
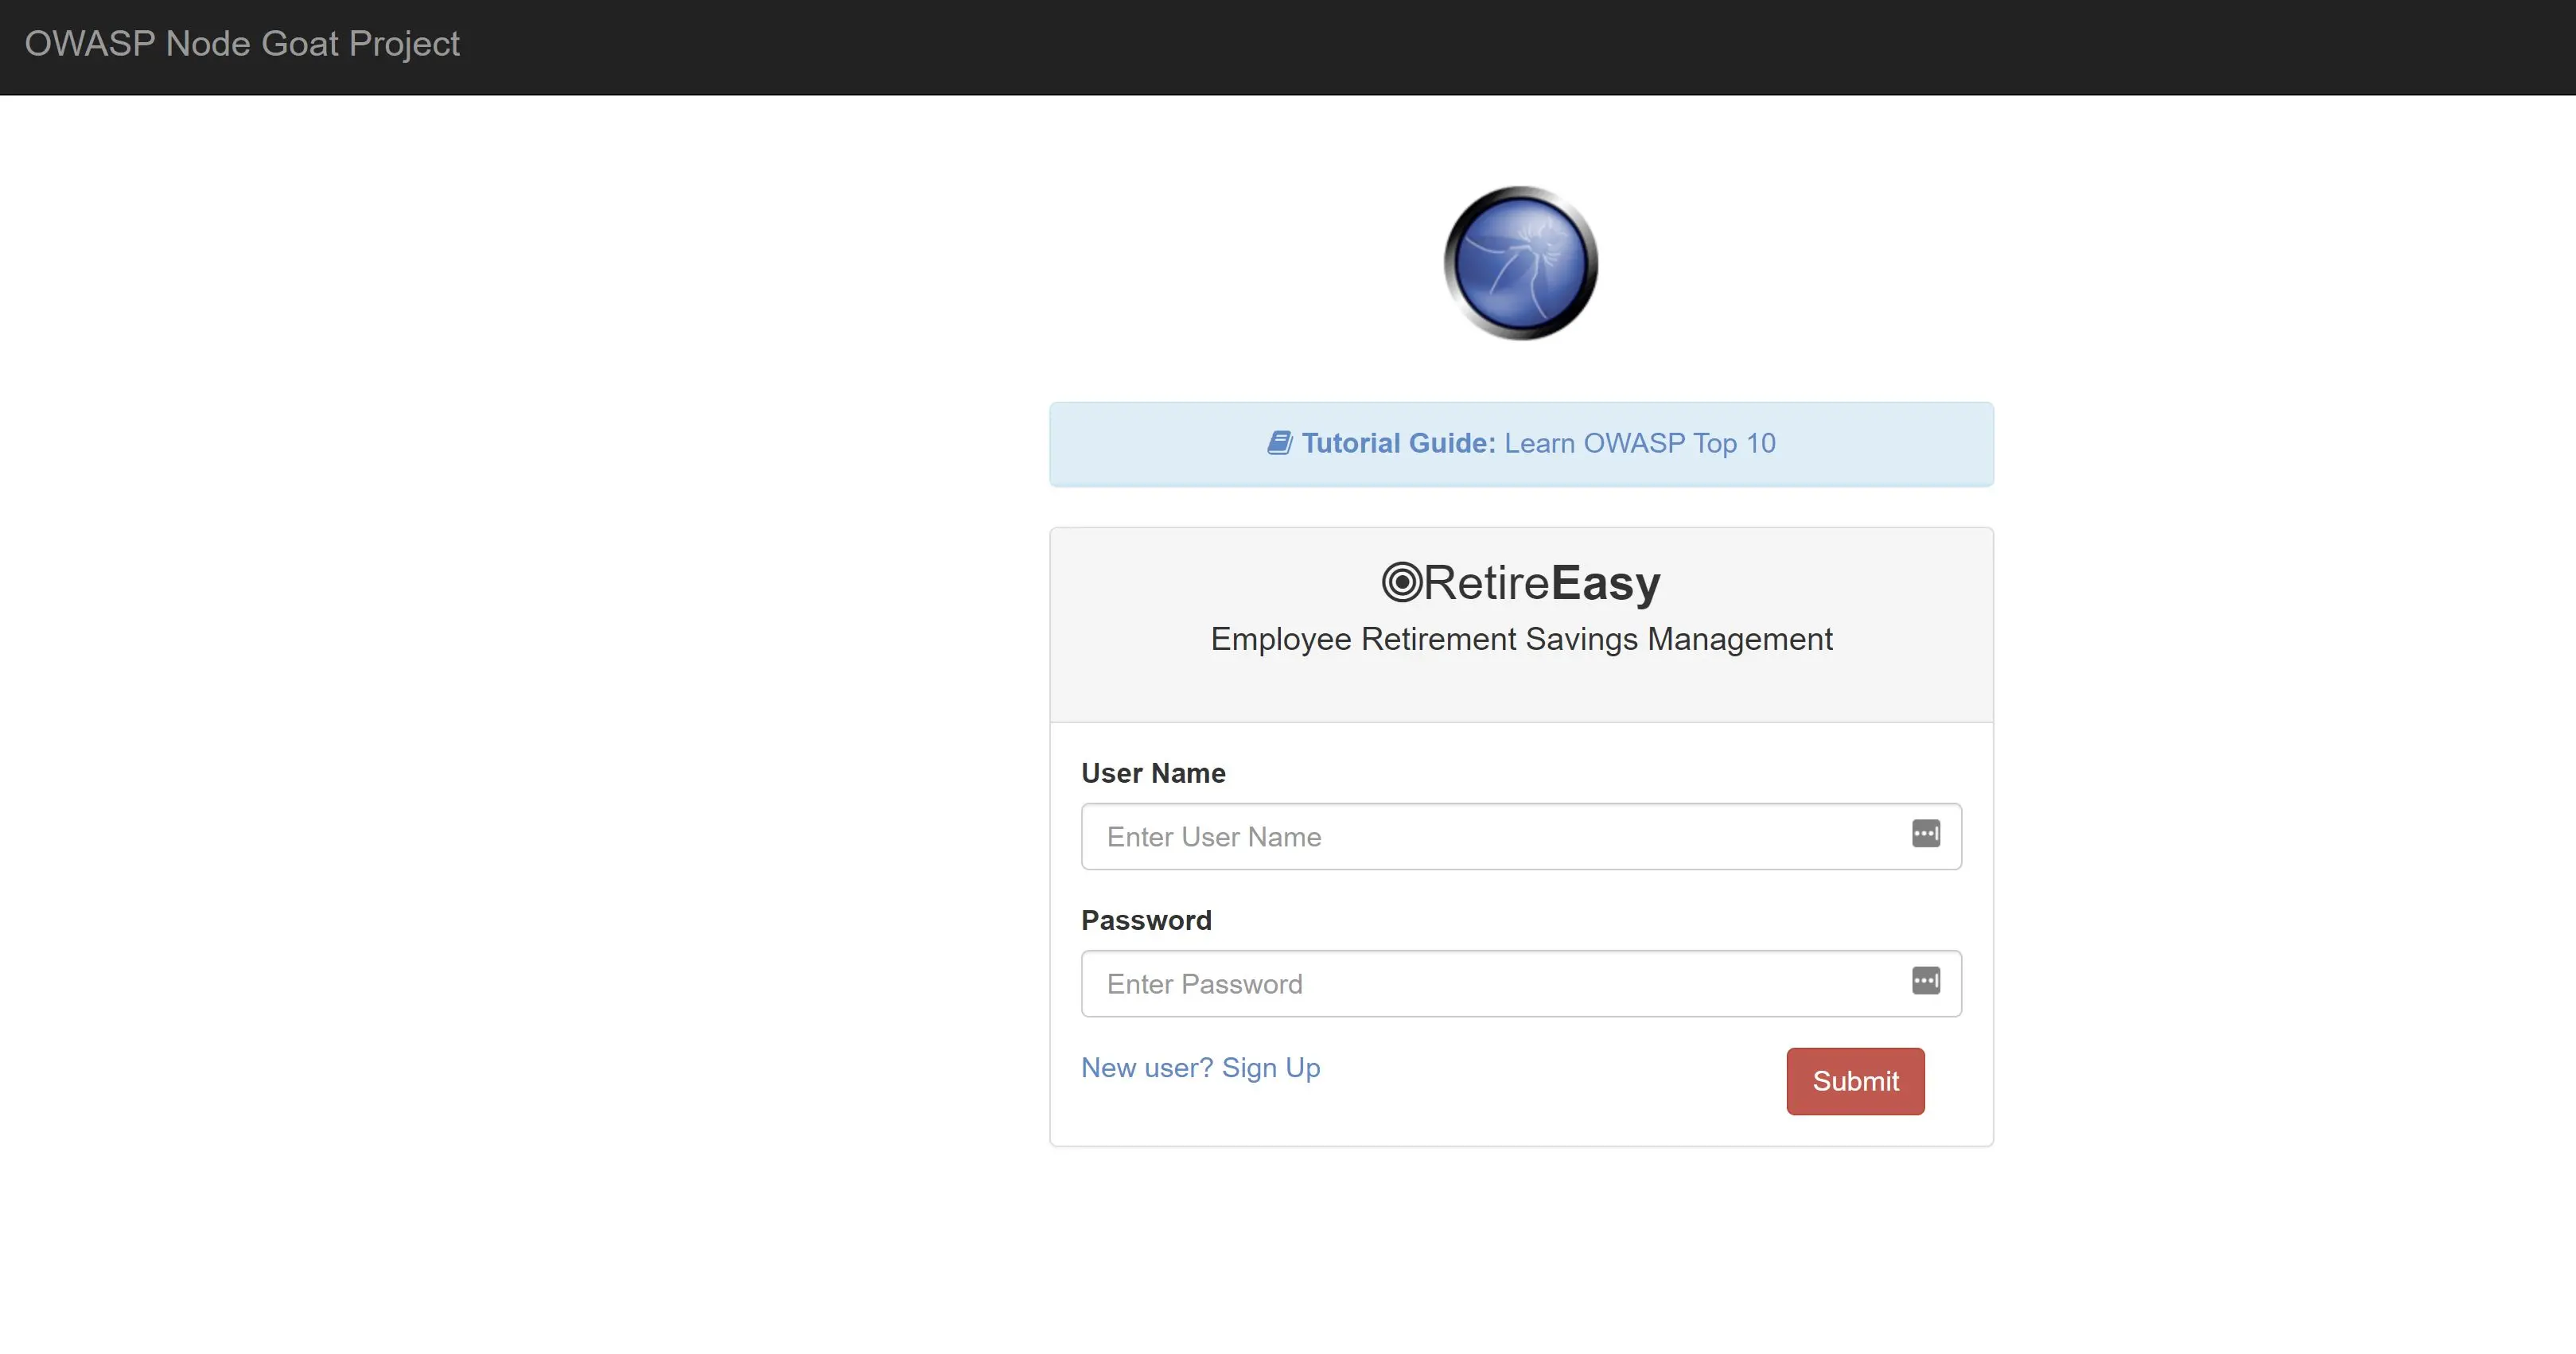
Open a browser and navigate to localhost:4000. If everything started ok your browser should have loaded the NodeGoat application. Take a browse around the application. Log in with username user1 and password User_123. Also be sure to go through the detailed tutorials explaining the OWASP top 10 vulnerabilities and how to fix them.
Containers make deployment so easy for developers. Deploying all application dependencies with one command. Technology doesn’t get better then that!
Onto testing.
Building our security tools container
Now that we got our application running locally we need some tools to test it. There are many ways we can implement this. We could:
- Install the tools directly on our OS.
- Spin up a virtual machine with tools and OS pre-installed.
- Run a container with the tools and attach to application.
We will go with the latter… lets begin!
docker pull kalilinux/kali-rolling
For this walkthrough we will be using an existing container image notorious within the infosec community, Kali Linux. You can use your own favorite Linux container as well, if you’re not comfortable with Kali Linux, you will just have more steps to get the desired tools installed. If your more advanced and know exactly what packages you need, you could just as easily make your own container image (but we won’t cover that here).
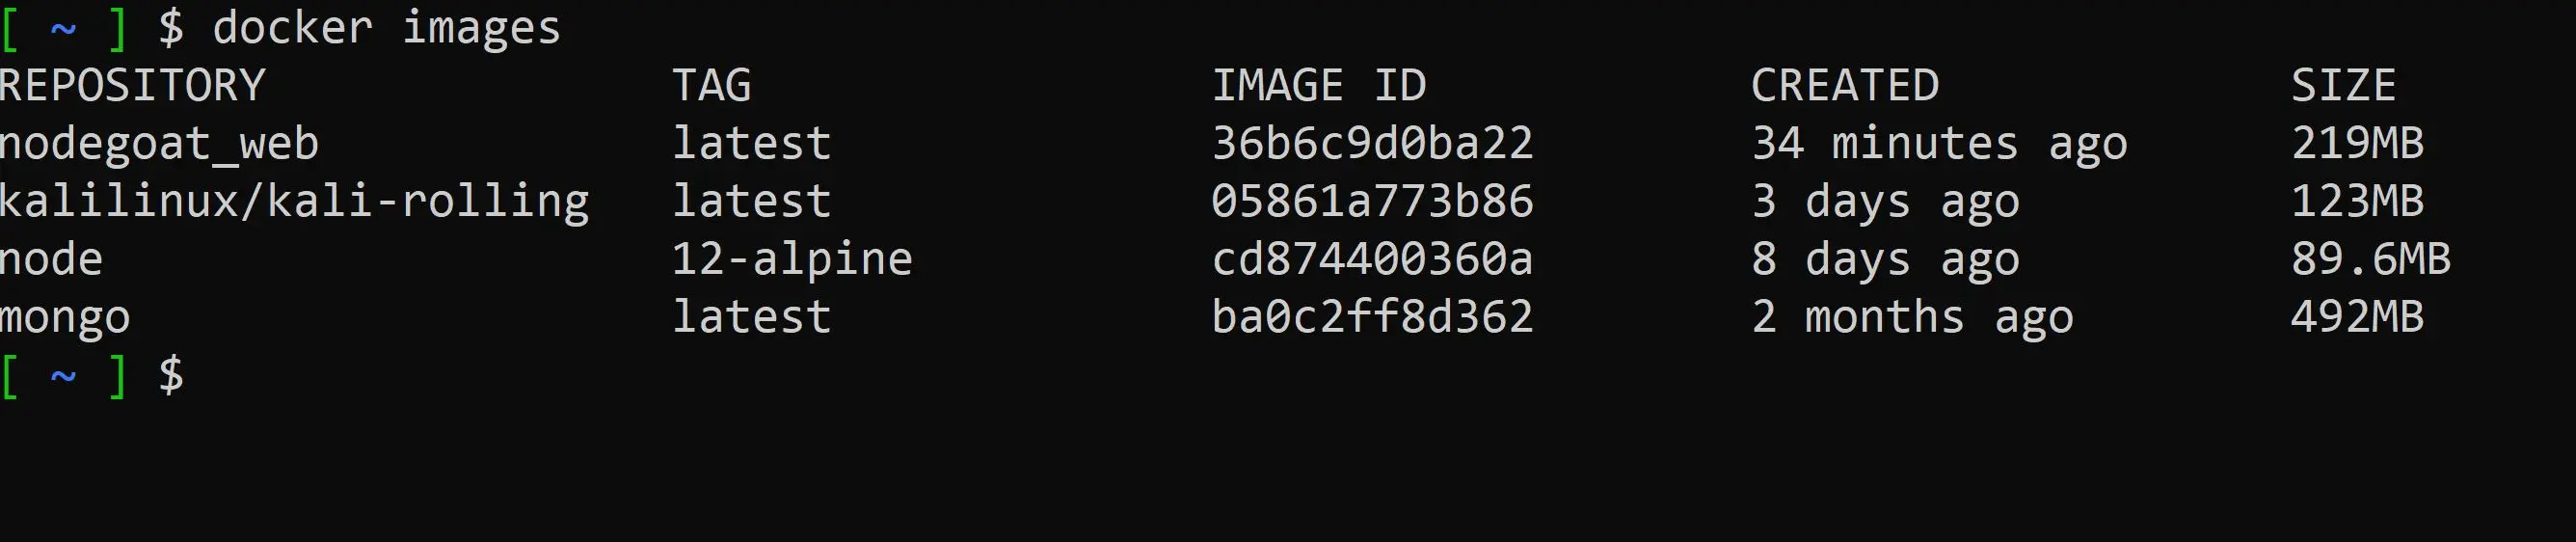
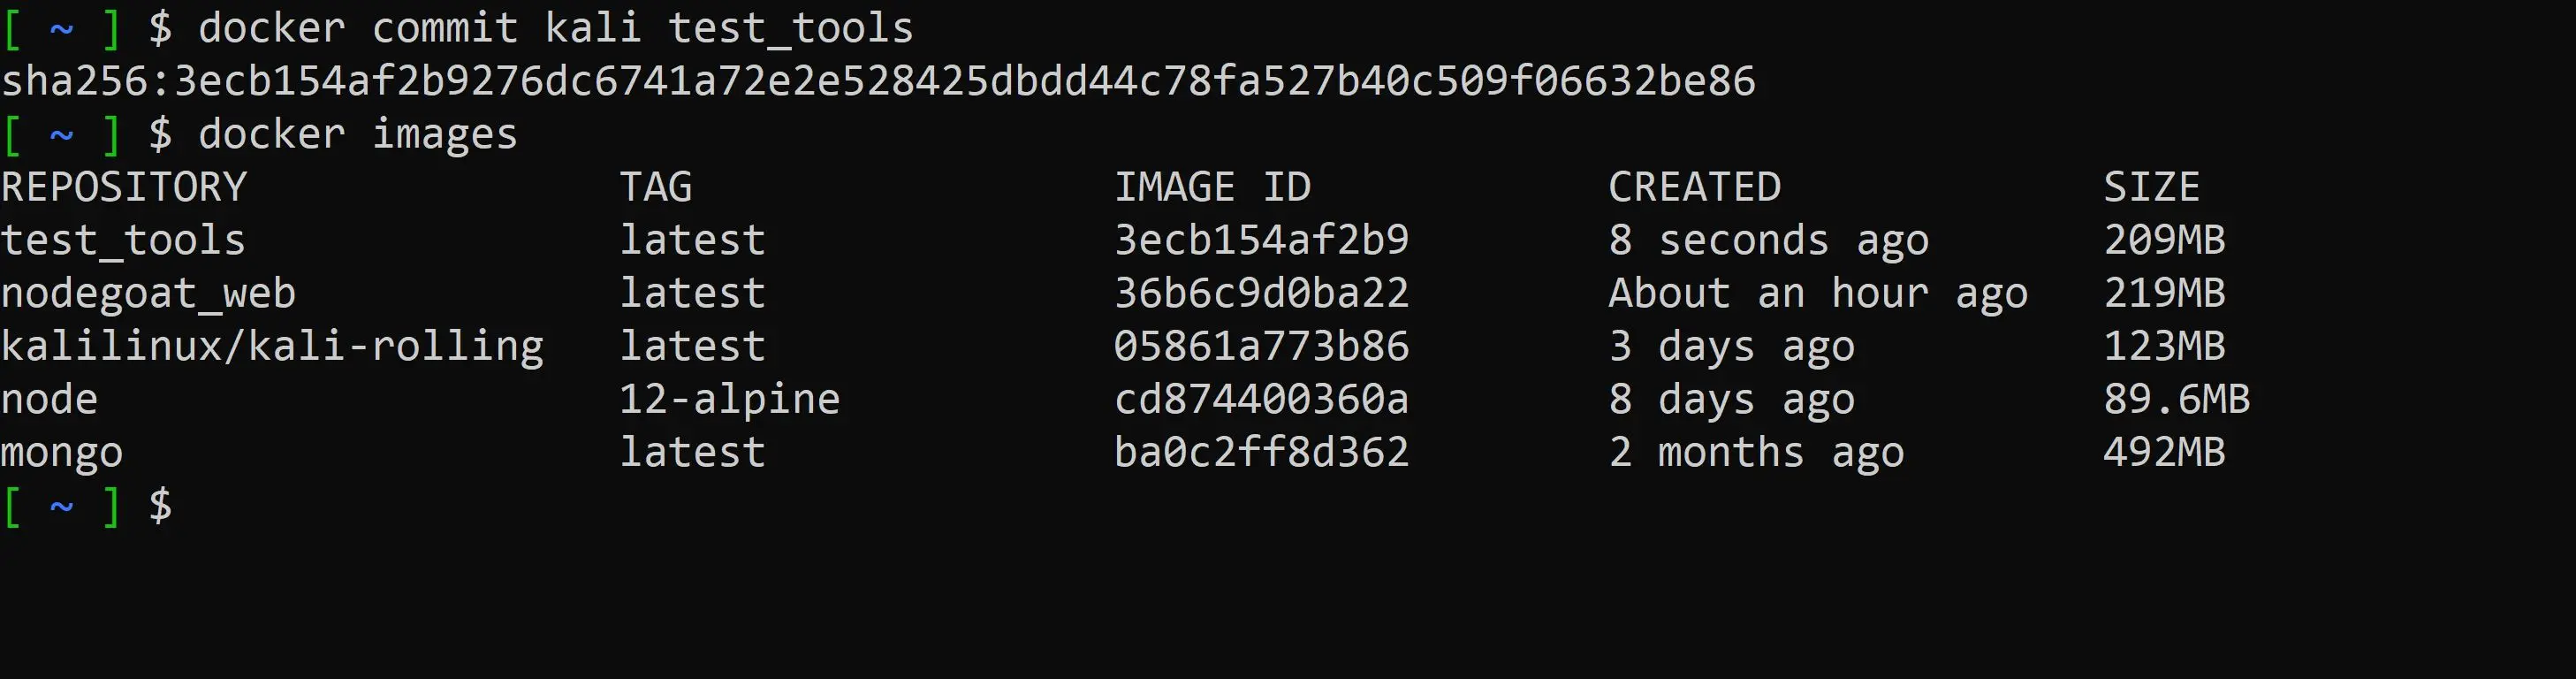
docker images
You should see the newly acquired image downloaded to your machine.
Let’s start up the container.
docker run -it --name kali kalilinux/kali-rolling /bin/bash

Sweet, your now inside the kali container. Before we can do anything, we must install the tools we want. This current image is bare bones and is meant to be augmented with apps to fit your own needs.
I will recommend you checkout Kali Metapackages to see the packages available for install. Kali does give us a precompiled list of tools specific for the job we want to accomplish. If you would like to install all the tools offered by Kali, be prepared to wait a long time, as the total diskspace needed is around 18GB. We won’t be doing that for this tutorial but you are more then welcome to.
NOTE: If you install the kali-linux-everything you will be required to configure some settings during the installation. It is fine to use all the defaults.
Let’s update our container package repository and view some of the packages offered.
apt-get update && apt-cache search kali-linux
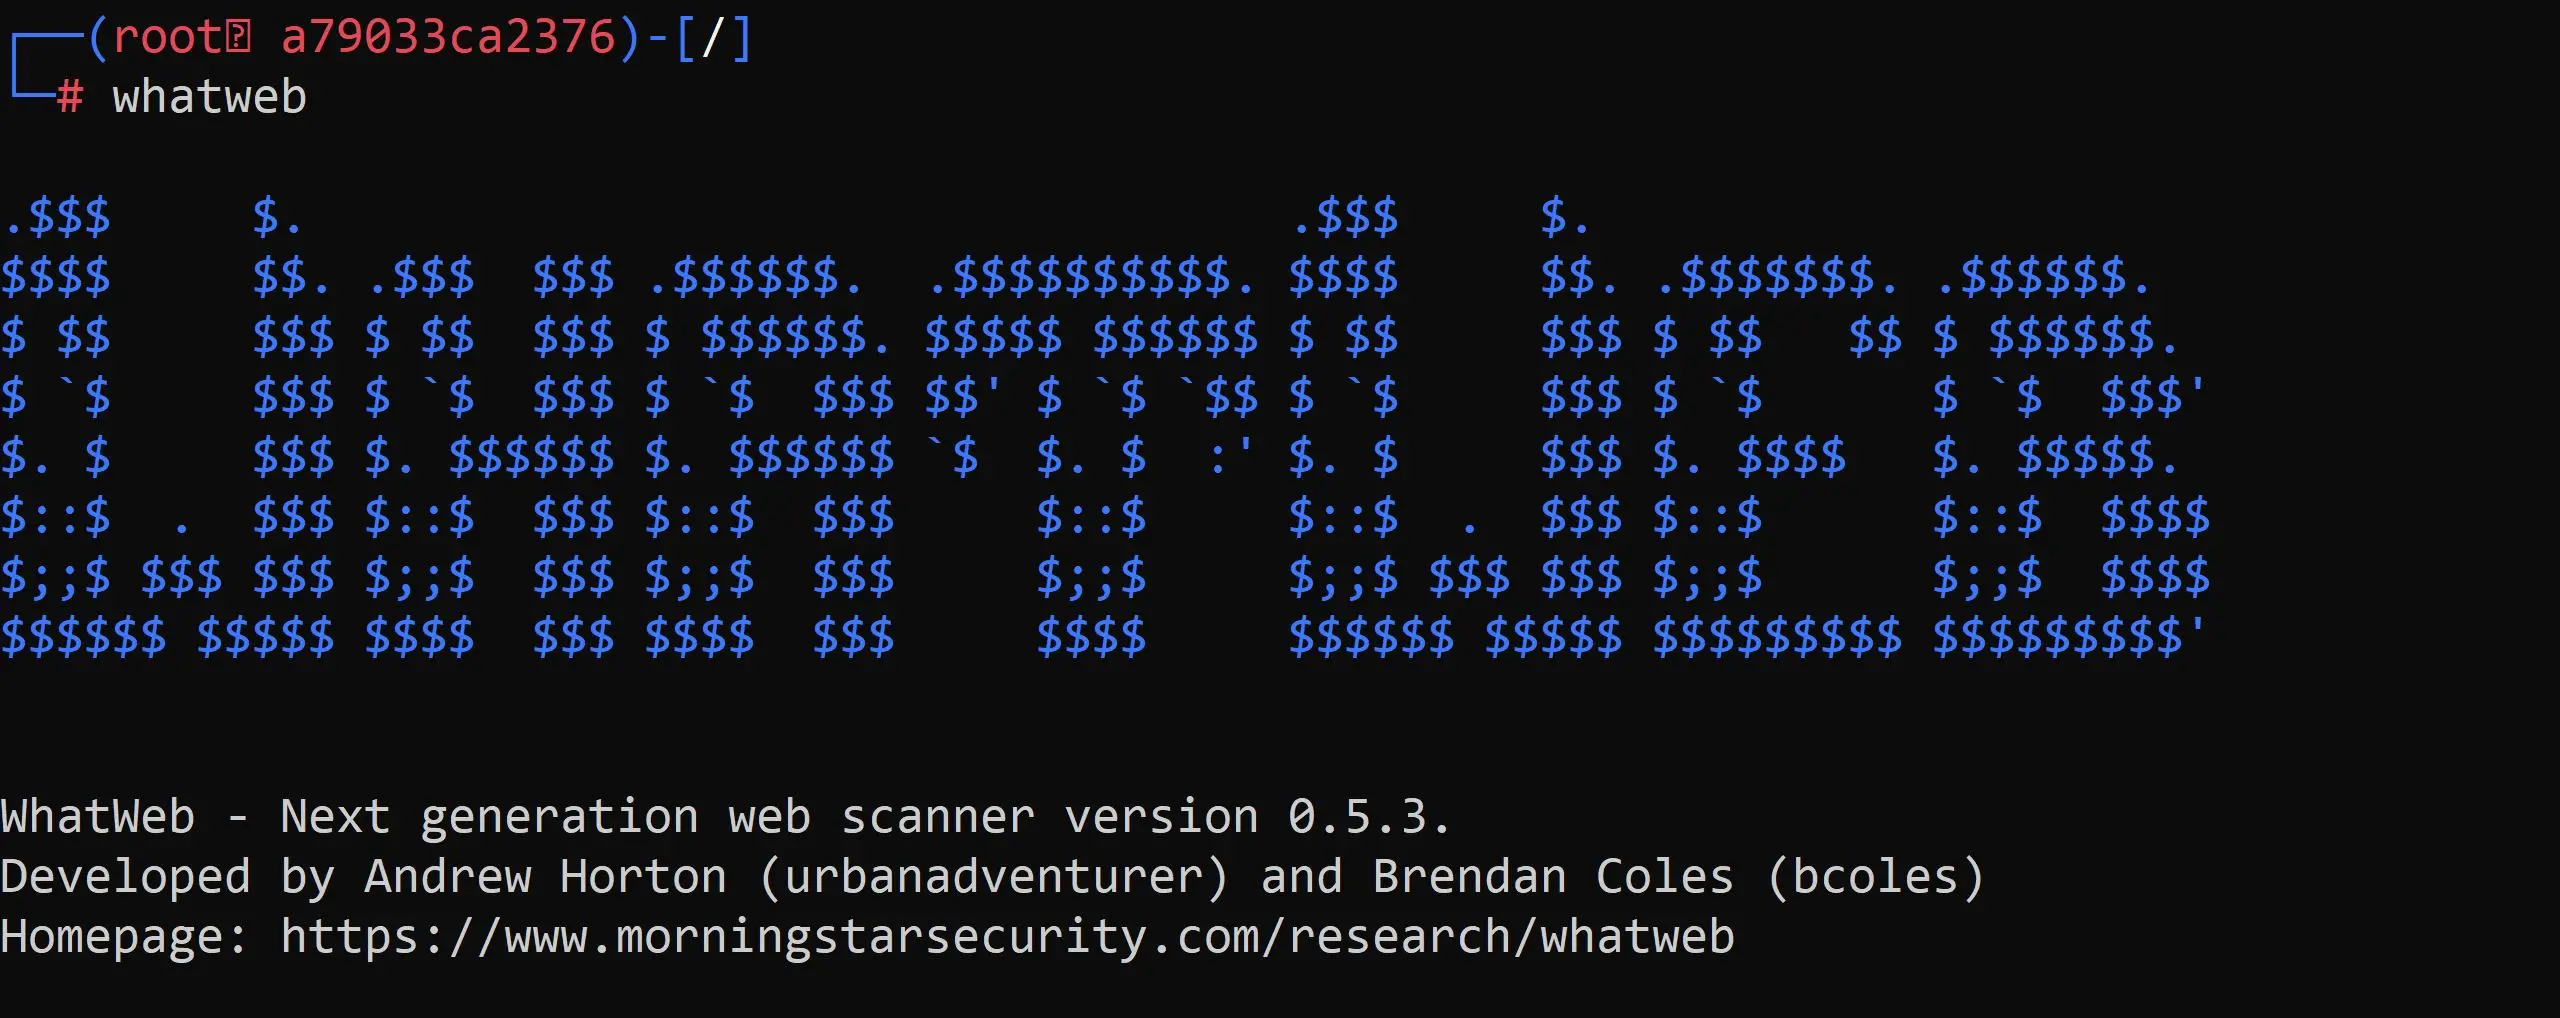
Next, we will install a single web scanner package called Whatweb, so we can get some info on our running application.
apt-get install whatweb
At this point we have all our tools installed and we are ready to rock. Wait though… If we exit our container we will lose everything we just installed into the container. That’s no good. Let’s remedy that by opening up a new console and committing our changes.
docker commit kali test_tools
We can now run our own custom container for testing with all of our configuration and packages installed.
NOTE: I would recommend uploading your image to docker hub or container repo so you can pull down your image where ever you are at!
Look into that HERE
Connecting and testing our deployment
Finally! We are at the meat and potatoes.
Let’s fire up our freshly minted container.
docker run -it test_tools /bin/bash
Currently we have our web application serving at localhost:4000 lets scan it with Whatweb
whatweb localhost:4000

!@#$ What happened?
To give the short answer…
When a docker container is ran it isolates itself in a default network… for the case of our application deployed with a docker-compose.yml it creates its own isolated network to run in. To fix our issue we must link or attach our tools container to the application network.
Exit out of our tools container with:
exit
Now inspect our docker networks
docker network ls
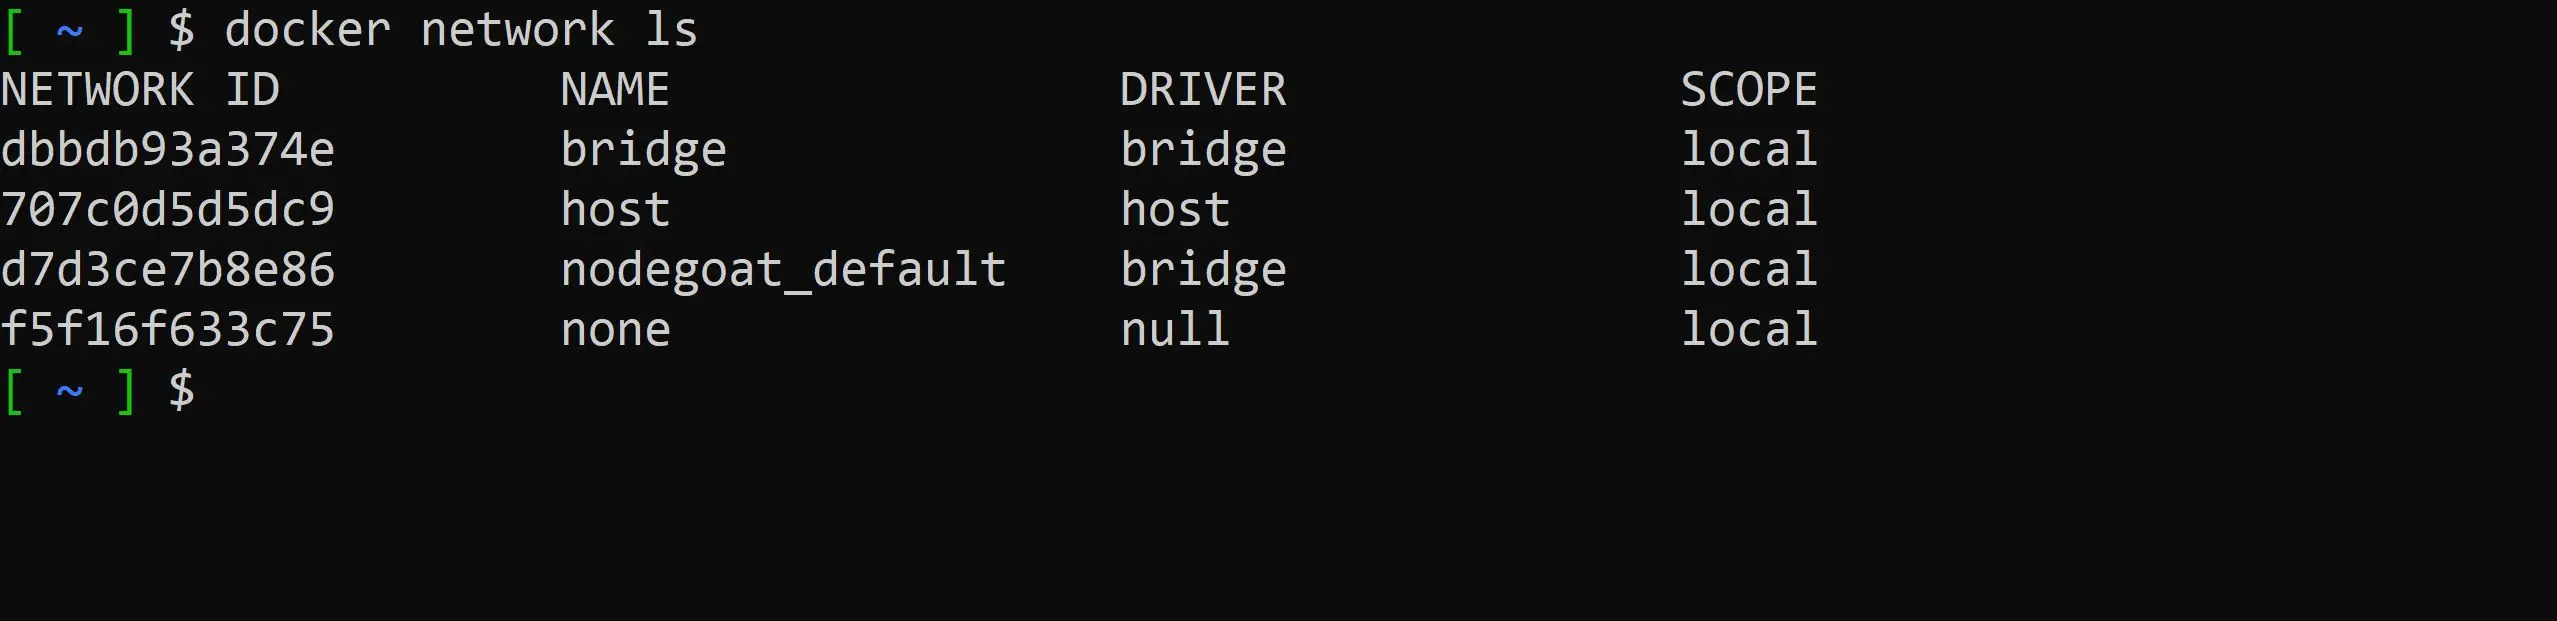
Low and behold we have a nodegoat_default network our application is currently running in. We want to connect to this network with our tools container.
docker run -it --network=nodegoat_default test_tools
Again localhost will not be available here. We have to reference the docker-compose.yml file to see what service name we should be targeting. In this case it will be web.
whatweb web:4000
 … it seems we have an express powered application.
Your are now ready to test to your heart’s content with some of the best security tools in the industry.
Cleaning up
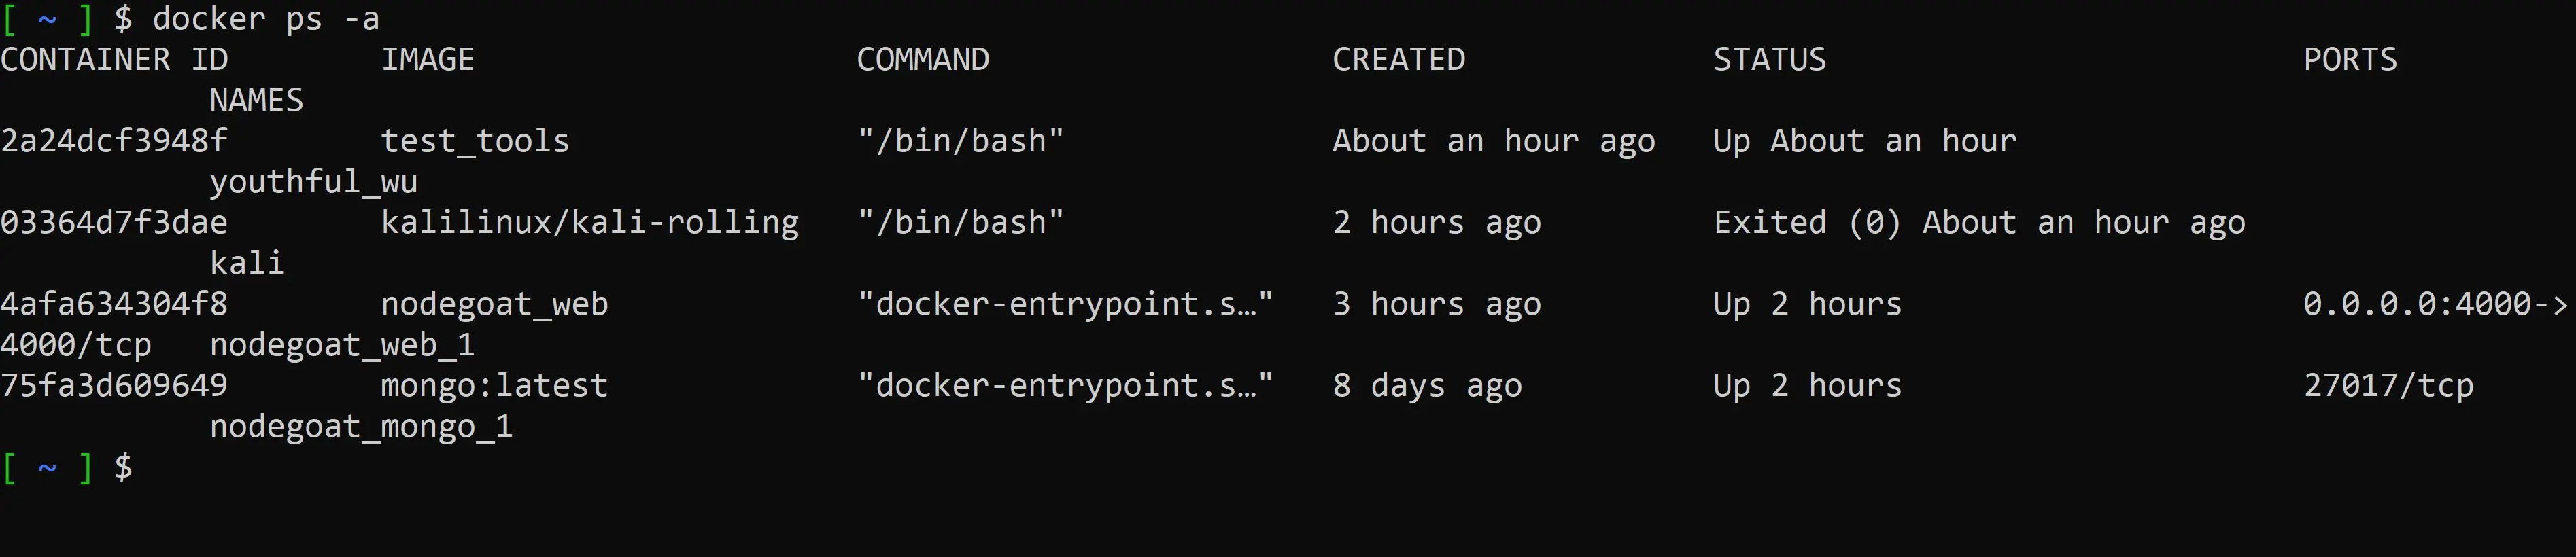
Now that your a pro let’s practice cleaning up our resources. List all the current running docker containers on the system by using:
docker ps -a
If there are containers running you can use:
docker kill

To remove the exited containers try:
docker rm
Or, to remove all exited containers in one command.
docker rm $(docker ps -qa --filter status=exited )

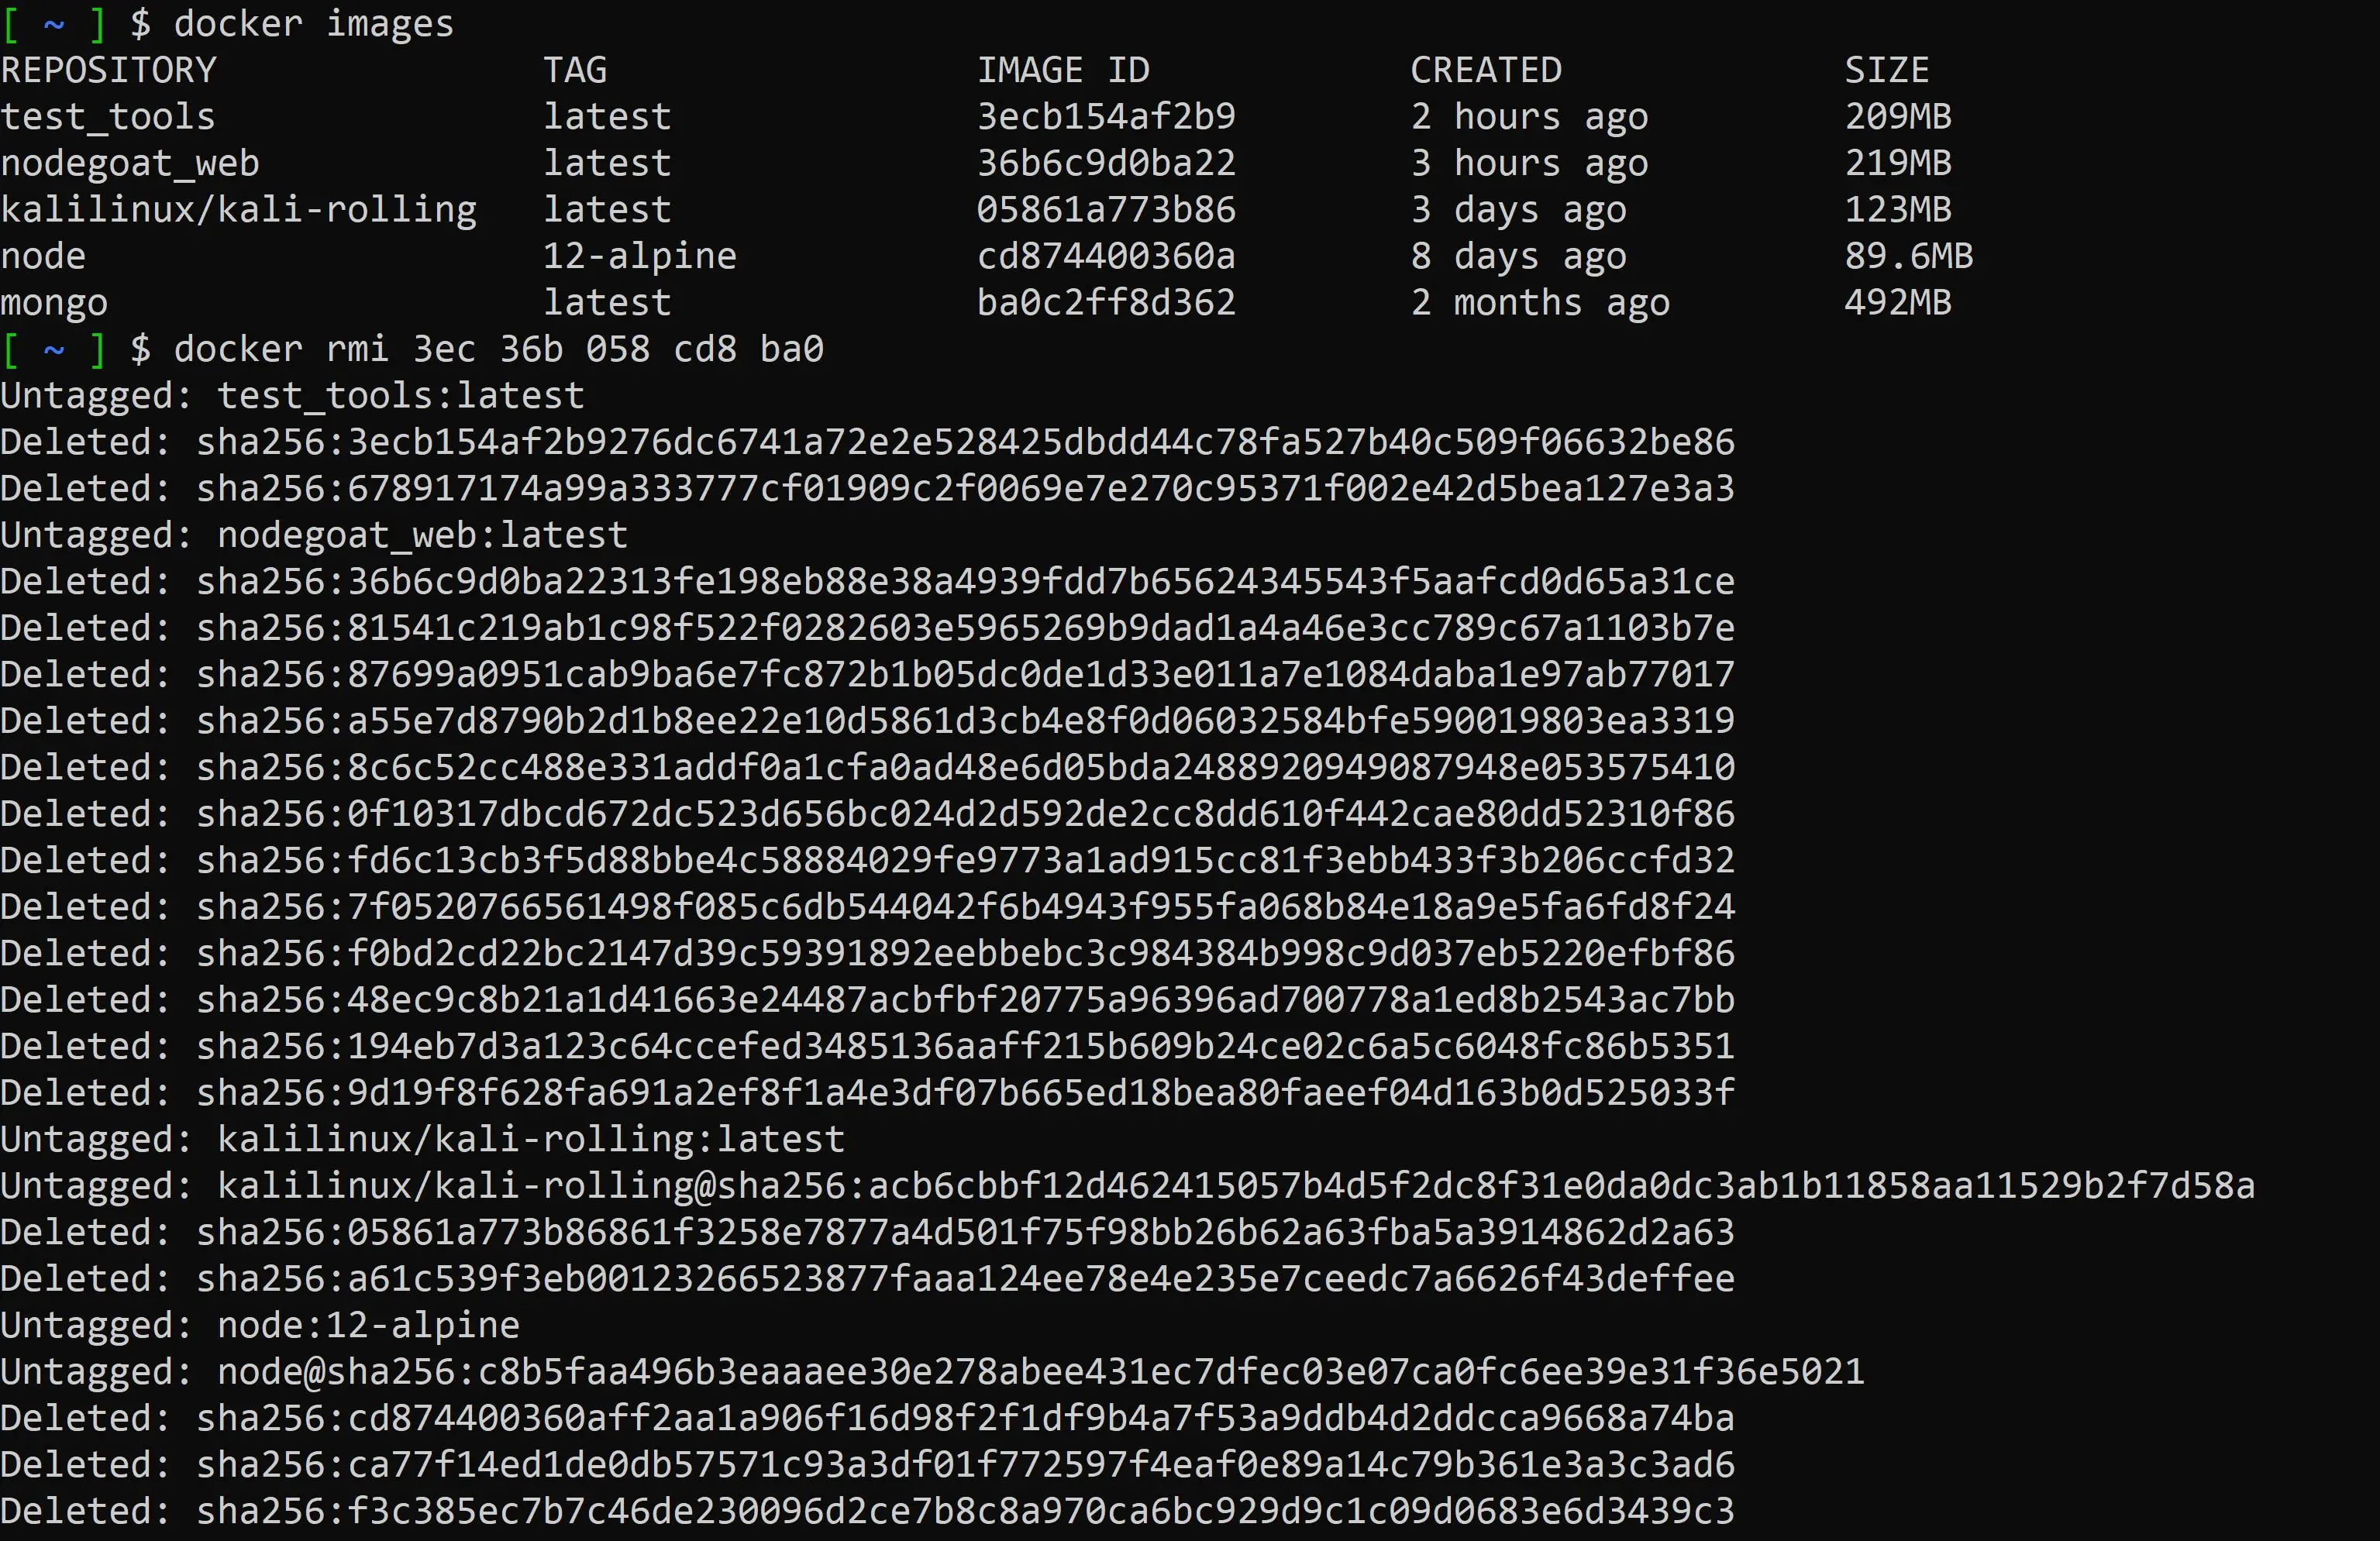
Finally, to remove the images from your machine:
docker rmi
About Ryker Rumsey

Ryker is our newest security consultant with a long history in software development.